

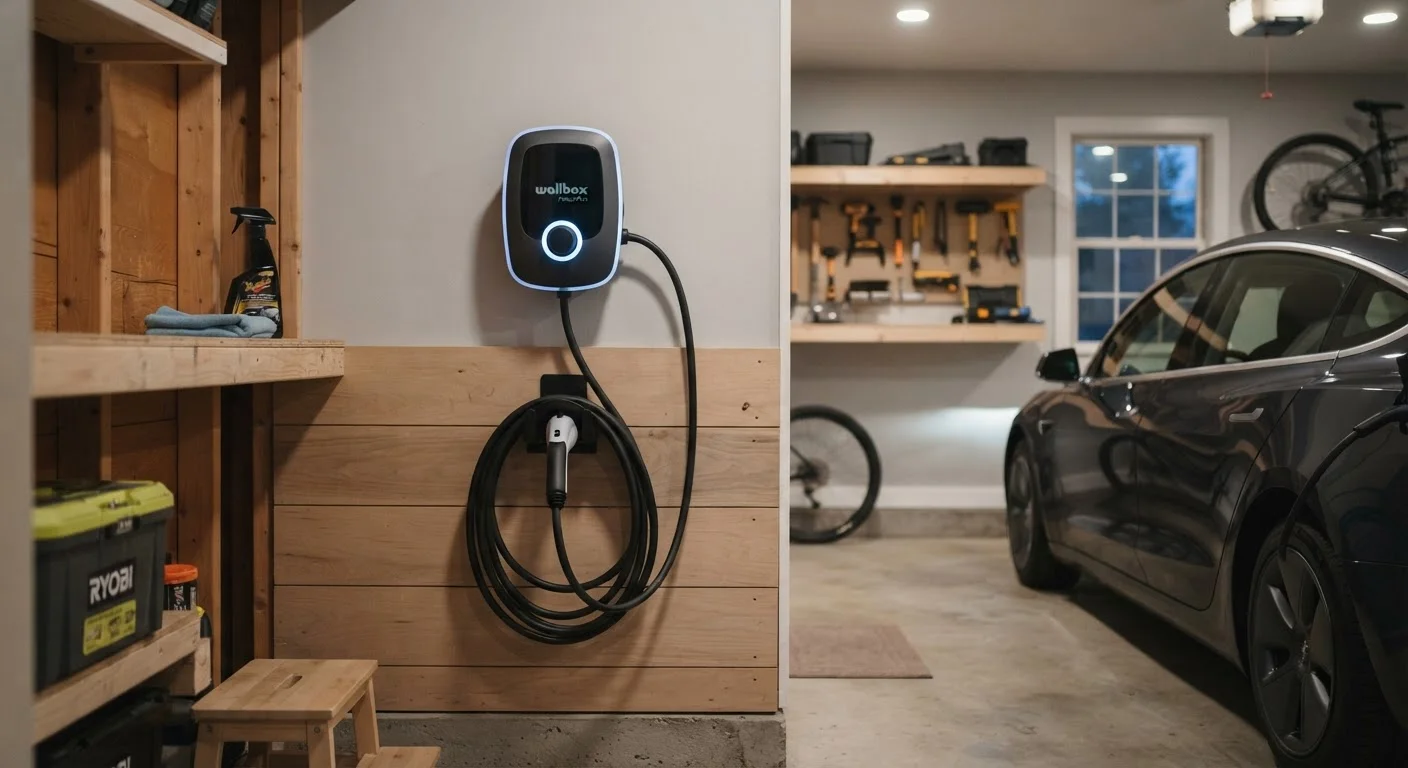
Why Home Charging Setup Is More Than Plugging In
Many new EV owners assume home charging works like charging a phone — plug it in, walk away. The reality involves a bit more planning, particularly if you want to charge efficiently overnight. Most EVs ship with a Level 1 cord that works with a standard 120-volt household outlet, but that delivers only 3–5 miles of range per hour. For most daily driving needs, that's impractically slow.
That's why the majority of home EV owners install a Level 2 charger (240 volts), which can add 20–30 miles of range per hour, depending on the vehicle and charger output. Making that upgrade involves electrical work, potential panel changes, permitting, and a qualified installer. Understanding what each phase involves helps you plan realistically — and avoid surprises. For a broader look at what new EV ownership entails, see our guide for first-time EV buyers.
What you will need
The Installation Process, Step by Step
The steps below reflect the typical path for a U.S. homeowner installing a Level 2 EVSE (Electric Vehicle Supply Equipment) in a garage or on an exterior wall. Timelines and requirements vary by location and home electrical condition.
Assess Your Electrical Panel
Have a licensed electrician inspect your main electrical panel. They'll determine whether your current service (typically 100-amp or 200-amp) can support a dedicated 240-volt, 40–50-amp circuit — the most common requirement for Level 2 EV charging. If your panel is near capacity or outdated, a panel upgrade may be recommended before installation can proceed.
Determine the Charger Location
Work with your electrician to identify the optimal mounting location — typically a garage wall near where the car parks, or an exterior wall if no garage exists. The distance from the panel to the installation point directly affects conduit and wiring costs. Measure where the car's charge port sits to confirm the cable will reach comfortably.
Pull the Required Permit
In most U.S. jurisdictions, a permit is required for new electrical circuits. Your electrician can typically handle this on your behalf, but confirm responsibility upfront. Permit fees vary by municipality and usually range from $50 to $200. Skipping this step can create problems when selling the home or filing an insurance claim.
Install the Circuit and Mount the EVSE
The electrician runs a dedicated circuit from your panel to the charger location, installs the breaker, pulls conduit and wire, and mounts the EVSE unit. This work typically takes three to six hours for a straightforward installation. More complex runs — through finished walls or across long distances — take longer.
Schedule the Electrical Inspection
After installation, a local inspector must sign off on the permitted work. Your electrician or building department will schedule this visit. Inspections often happen within a few days to two weeks of request, depending on local demand. The charger should not be used for regular charging until inspection is complete and approved.
Activate and Configure the Charger
Once approved, power on the charger and follow the manufacturer's setup steps — typically connecting to your home Wi-Fi, creating an account in the companion app, and setting a charging schedule. Many smart chargers allow you to delay charging to off-peak utility hours, which can lower your electricity costs if your utility offers time-of-use pricing.
Ask About Smart Charger Features
Many Level 2 chargers now include Wi-Fi connectivity, app-based scheduling, and energy monitoring. These features let you track charging costs over time and participate in utility demand-response programs in some areas. Evaluate what connectivity features matter before purchasing hardware.
Costs, Common Complications, and What to Expect
Charger hardware typically ranges from around $300 to over $800, while electrician labor and materials can add anywhere from $200 to $1,000 or more — higher if a panel upgrade is needed. Panel upgrades themselves can run $1,500–$4,000 depending on scope and region. Some utility companies and state programs offer rebates; check your utility's website and the federal tax credit landscape, as these change periodically.
Common complications include older homes with 100-amp panels (many modern EV chargers work best with at least a 200-amp service), conduit runs longer than anticipated, and HOA restrictions in multi-unit or planned communities. If you're in an apartment or condo, the process is substantially different and often requires landlord or board approval. The practical comparison of home vs. public charging can help you weigh whether home installation makes sense for your situation at all.
Don't Skip the Permit Step
Unpermitted electrical work can void homeowners insurance coverage related to an electrical incident and complicate a future home sale. It may also mean the installation doesn't meet local code, requiring costly rework. Always confirm permit requirements with your local building department before installation begins.
Once your charger is operational, charge scheduling — setting the car or charger to charge during off-peak utility hours — can meaningfully reduce electricity costs. Check whether your utility offers a time-of-use rate plan designed for EV owners. For context on how home charging fits into the broader infrastructure picture, see the state of EV charging infrastructure worldwide.
The content on this site is for informational purposes only and is not a substitute for professional advice. Always consult a qualified professional for guidance specific to your situation.